 By Chris Follin
BATTERY SKILLS
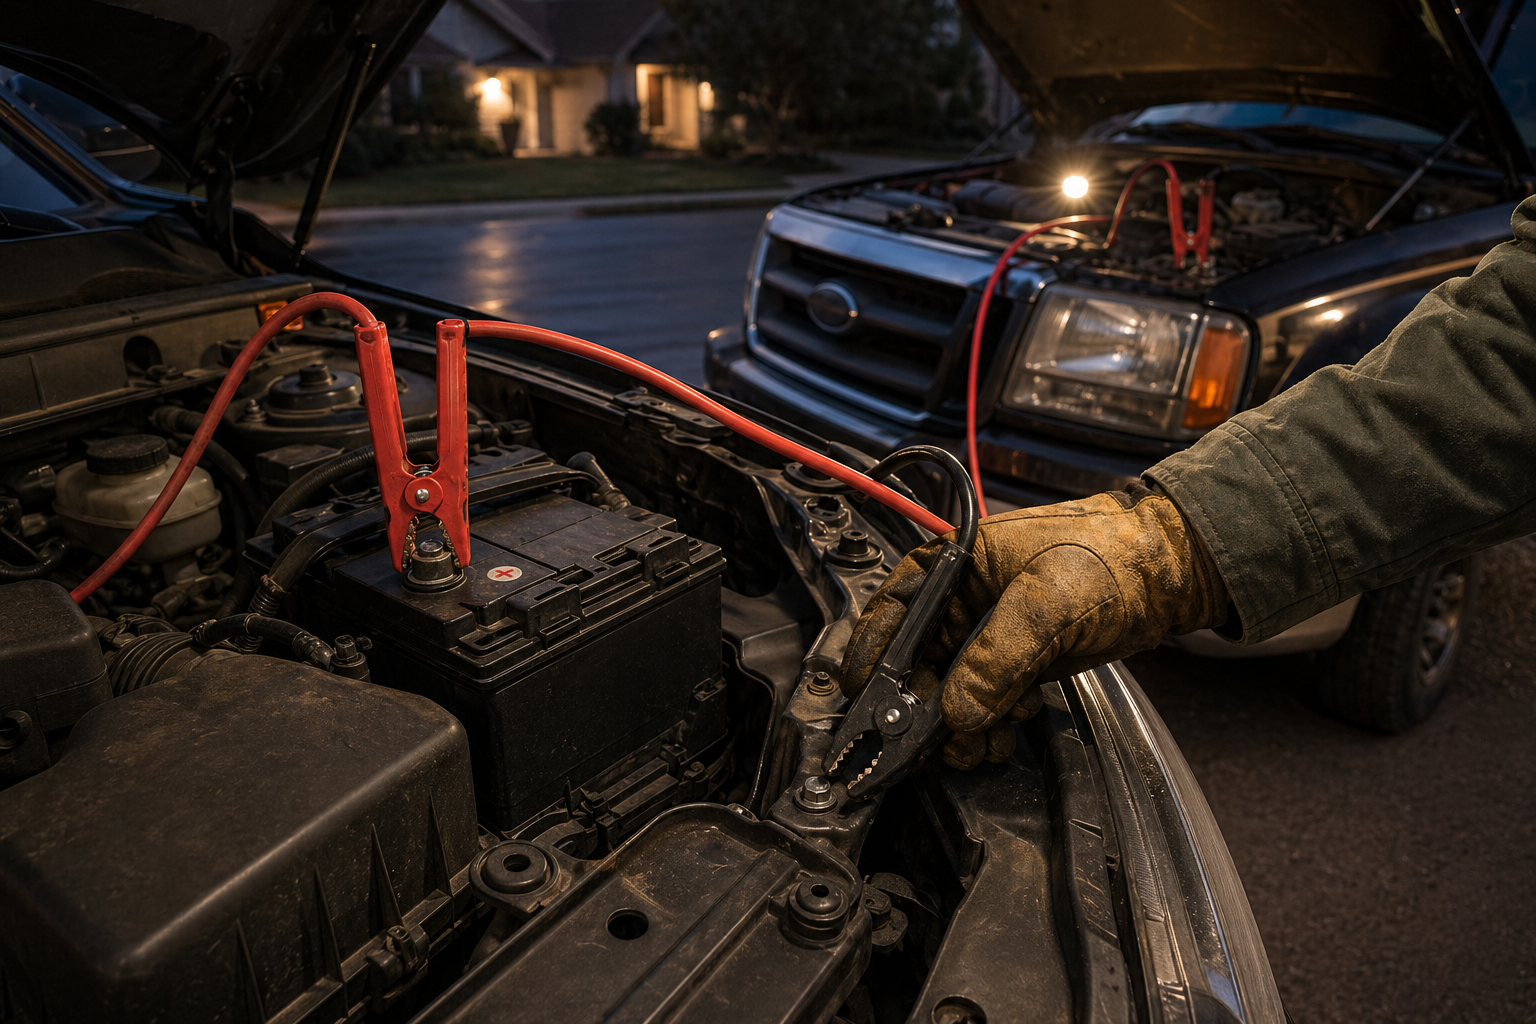
How to jump start a car and use jumper cables correctly
Jump starting is simple, but the order matters because sparks near a battery are not your friend. Inspect first, confirm both systems are compatible 12V setups, connect positive to positive, put the final negative clamp on a clean engine or chassis ground away from the dead battery, then remove in reverse order.
Inspect before connecting anything
Open the hood and slow down. Look for a cracked case, leaking acid, heavy corrosion, loose terminals, rotten-egg smell, heat, swelling, or a frozen battery. If the battery looks damaged, call for help instead of adding sparks and current to the situation.
Modern vehicles may have dedicated jump points away from the battery. Hybrids, EVs, and vehicles with batteries hidden under seats or in trunks can have very specific 12V jump procedures. Use the owner manual whenever the jump posts are not obvious. The classic jumper-cable order keeps the final spark away from the dead battery by using a clean unpainted engine or chassis ground on the disabled vehicle.
| Situation | Do this instead | Why |
|---|---|---|
| Battery case is cracked, swollen, leaking, frozen, or smells rotten | Do not jump it. Call for help or replace the battery. | Damage plus sparks/current is not a roadside experiment. |
| Terminals are not clearly marked | Find the manual, use approved jump posts, or stop. | Reverse polarity can damage electronics fast. |
| Hybrid, EV, or unusual battery location | Use the owner manual's 12V jump procedure or call roadside assistance. | High-voltage systems and remote jump posts are not places to improvise. |
| Cables cannot reach without stretching | Reposition safely or use a jump pack. | Stretched cables pop loose and create sparks in exactly the wrong moment. |
| It does not start after a few tries | Stop cranking and diagnose. | Repeated attempts heat starters, cables, clamps, and patience. |
THE ORDER
The cable sequence to memorize
Most jump-start mistakes happen before the key turns. Slow down, identify the terminals, keep the vehicles from touching, keep the clamps apart, and make the final negative connection away from the dead battery.
- 1. Dead positiveRed clamp to the disabled vehicle positive terminal or approved jump post.
- 2. Donor positiveOther red clamp to the good battery positive terminal.
- 3. Donor negativeBlack clamp to the good battery negative terminal.
- 4. Engine groundFinal black clamp to clean unpainted metal on the disabled vehicle, away from the battery.
Stop before you connect anything
Set up before the cable order
Park the donor vehicle close enough for the cables to reach without stretching, but do not let the vehicles touch. Put both vehicles in park or neutral, set the parking brakes, turn off lights, climate control, radios, inverters, chargers, and other accessories, then remove rings, bracelets, and dangling jewelry. Eye protection is a good habit around batteries.
Use another battery of the same voltage. For ordinary passenger vehicles that usually means 12V to 12V, but do not assume. If the vehicle is hybrid, electric, heavily modified, or has a battery hidden away from the engine bay, use the manual's approved jump points.
The cable order
Connect one red clamp to the positive terminal or approved jump point on the dead vehicle. Connect the other red clamp to the positive terminal on the donor battery. Connect one black clamp to the donor negative terminal. Connect the final black clamp to a clean unpainted engine or chassis ground on the disabled vehicle, away from the battery, fuel lines, belts, fans, and pulleys.
Start the donor vehicle and let it idle briefly. Do not aggressively rev the engine. Try the disabled vehicle. If it does not start after a few reasonable attempts, stop. Repeated cranking can overheat starters, cables, clamps, and the donor vehicle's charging system.
After it starts
Remove the clamps in reverse order: ground on disabled vehicle, donor negative, donor positive, disabled positive. Keep the clamps from touching each other, dragging through water, or swinging into moving parts.
Let the vehicle run and drive long enough to get somewhere useful, but do not assume the problem is solved. Jump leads start the engine; they do not magically restore battery health. If it dies again, the battery, alternator, terminals, starter, fuse, or parasitic draw may need real diagnosis. If warning lights stay on, the belt is squealing, or voltage still looks wrong, go straight to diagnosis instead of pretending the jump fixed it.
Jump pack note
Jump packs often connect directly to battery terminals or approved jump posts and have their own safety logic. Follow the jump pack instructions instead of blindly copying cable steps. Make sure the pack is charged before you need it, and place it where it cannot fall into belts or fans when the engine starts.
If the vehicle has a lithium or unusual battery system, or if it is an EV with a separate 12V procedure, use the manufacturer instructions. Do not jump-start high-voltage systems.
FEATURED KIT
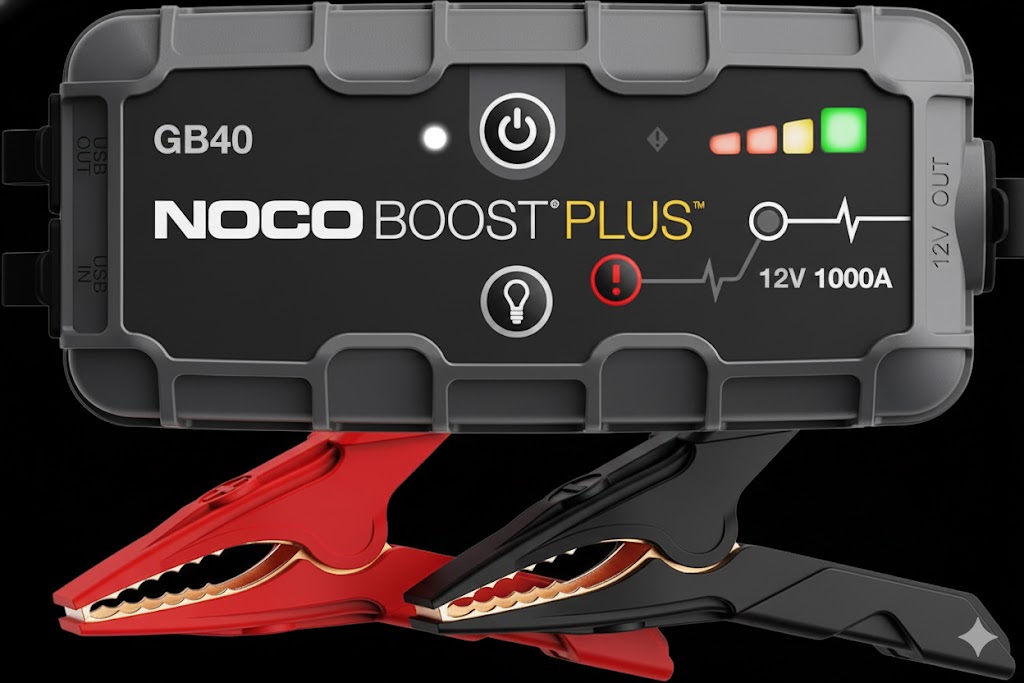
Why I like the NOCO Boost Plus GB40
The NOCO Boost Plus GB40 is the jump-start tool I would rather have in the truck than a plan that depends on finding another vehicle. NOCO rates the GB40 as a 12V, 1000A lithium jump starter for gas engines up to 6.0L and diesel engines up to 3.0L, which covers a lot of normal cars, small trucks, and daily-driver roadside problems.
The big advantage is control. You can keep the disabled vehicle still, use its approved jump points, avoid stretching cables between two vehicles, and follow the jump pack's own reverse-polarity and spark-protection logic. It does not remove the inspection step: do not use it on a frozen, cracked, leaking, swollen, or rotten-smelling battery, and keep the pack and leads clear of belts and fans.
The jump is controlled
- Battery case looks intact and terminals are identifiable.
- Vehicles are not touching and accessories are off.
- Final negative clamp is on a solid ground away from the battery.
- Cables are routed away from fans, belts, and pulleys.
Stop before something arcs
- Battery is frozen, leaking, cracked, hot, rotten-smelling, or swollen.
- Clamps are loose or polarity is uncertain.
- Someone revs engines or repeatedly cranks after failed attempts.
- The vehicle is hybrid/EV/unusual and the manual procedure is unknown.
Source-backed rules worth treating as non-negotiable
AAA's current jumper-cable guidance says to check battery voltage compatibility, inspect cables for damage, keep vehicles from touching, connect positive to positive first, and put the final negative clamp on a grounded metal point away from the dead battery. Interstate Batteries adds practical stop signs: remove jewelry, use eye/hand protection, do not jump a battery that is hot, swollen, cracked, frozen, or smells like rotten eggs, and do not rev the donor vehicle as if the alternator were a charger. Honda owner-manual guidance also warns not to lean over the battery, not to let clamps touch, not to connect directly to the dead battery negative post, and not to jump a frozen battery.
Field note
Jump starting is not hard, but guessing polarity is how easy jobs get expensive.