 By Chris Follin
EDGE TOOLS
How to sharpen a knife
Sharpening is not rubbing a knife on a rock until it feels better. You are removing metal at a consistent angle until the two bevels meet cleanly, then removing the burr without wrecking the edge you just made.
Sharpening is geometry
A sharp knife is two flat-ish bevels meeting at a clean apex. If your angle is too low, you polish behind the edge and the knife stays dull. If your angle is too high, you make a fat rough edge. If your angle changes every stroke, you make a rounded mess.
You do not need to be a knife nerd to make a camp knife useful. You need a stable stone, a repeatable angle, patient strokes, and a way to know when you have reached the edge. The burr is that signal: a tiny wire of metal that flips to the far side once you have sharpened all the way to the apex.
EDGE DIAGNOSIS
Pick the grit for the problem
Sharpening gets frustrating when the abrasive does not match the damage.
| Problem | First move | Stop when |
|---|---|---|
| Still cuts, just dull | Medium stone or fine diamond, then deburr. | You raise a tiny consistent burr and remove it cleanly. |
| Reflective dull spots | Medium stone until the shiny flat spots disappear at the edge. | The apex no longer reflects light. |
| Chips or rolled damage | Coarser stone only where needed. | The damage is gone; do not keep grinding for fun. |
| Feels sharp then quits fast | Deburr better with lighter alternating strokes. | The edge bites without a wire burr folding over. |
SHARPENING FLOW
Angle, burr, deburr
- 1. Mark the bevelUse marker so you can see whether you are hitting the actual edge.
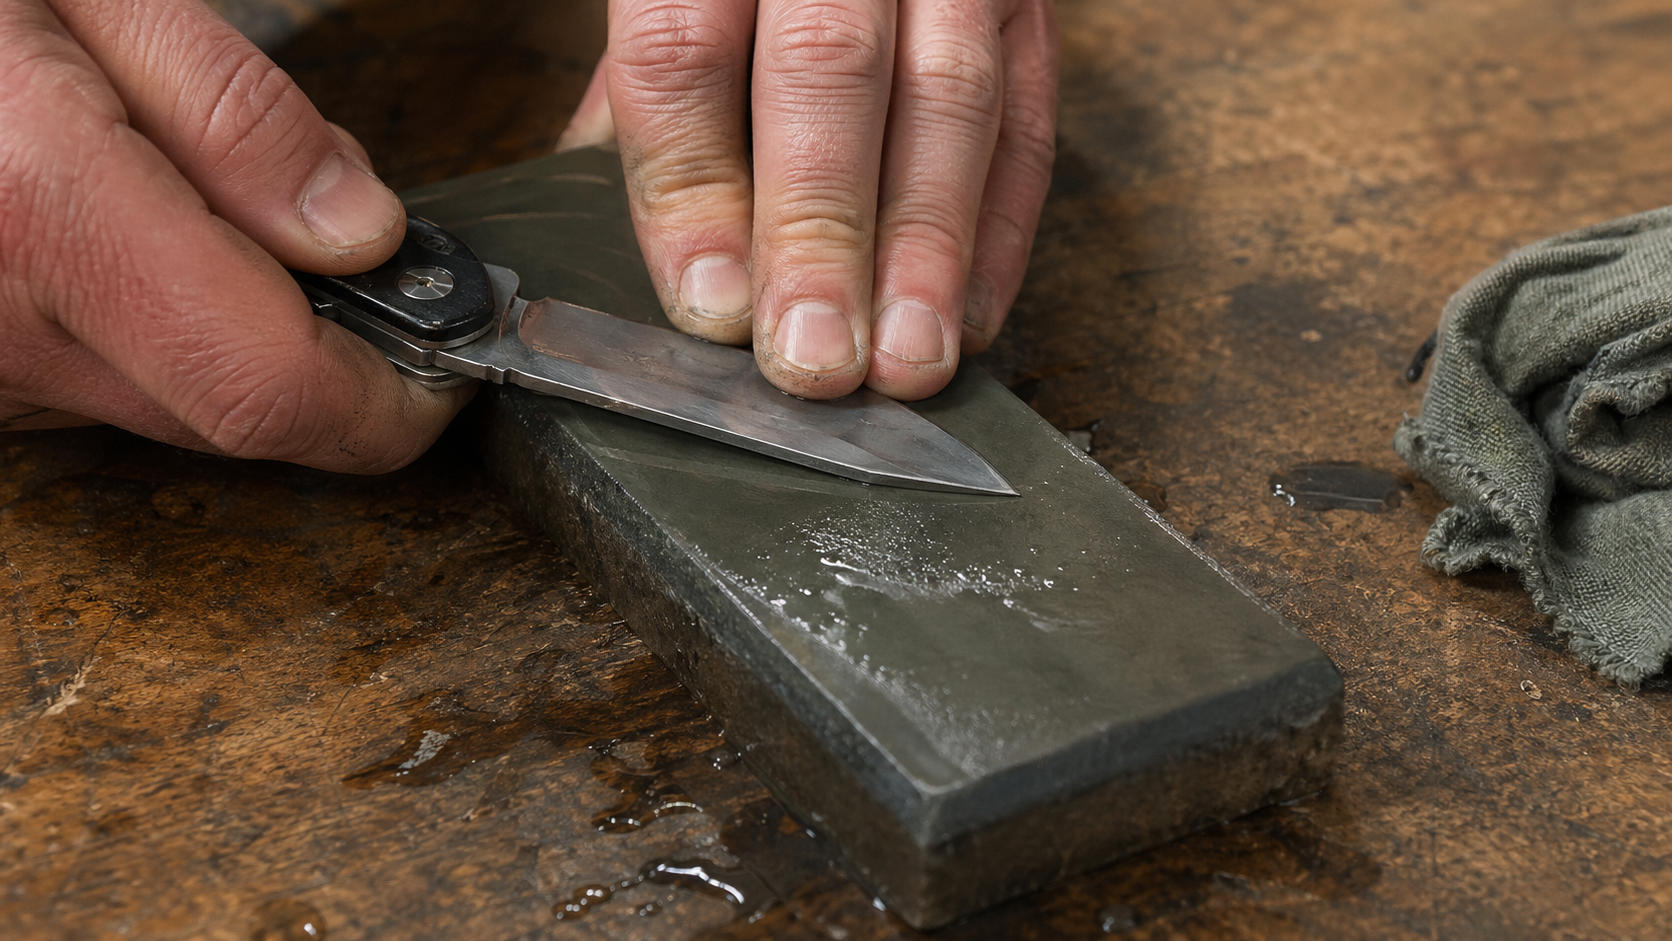
- 2. Hold the angleMatch the existing bevel and keep the stone stable.
- 3. Raise a burrWork one side until the burr is consistent from heel to tip, then repeat.
- 4. Go lighterAlternate sides with light pressure and finish by removing the burr, not making a bigger one.
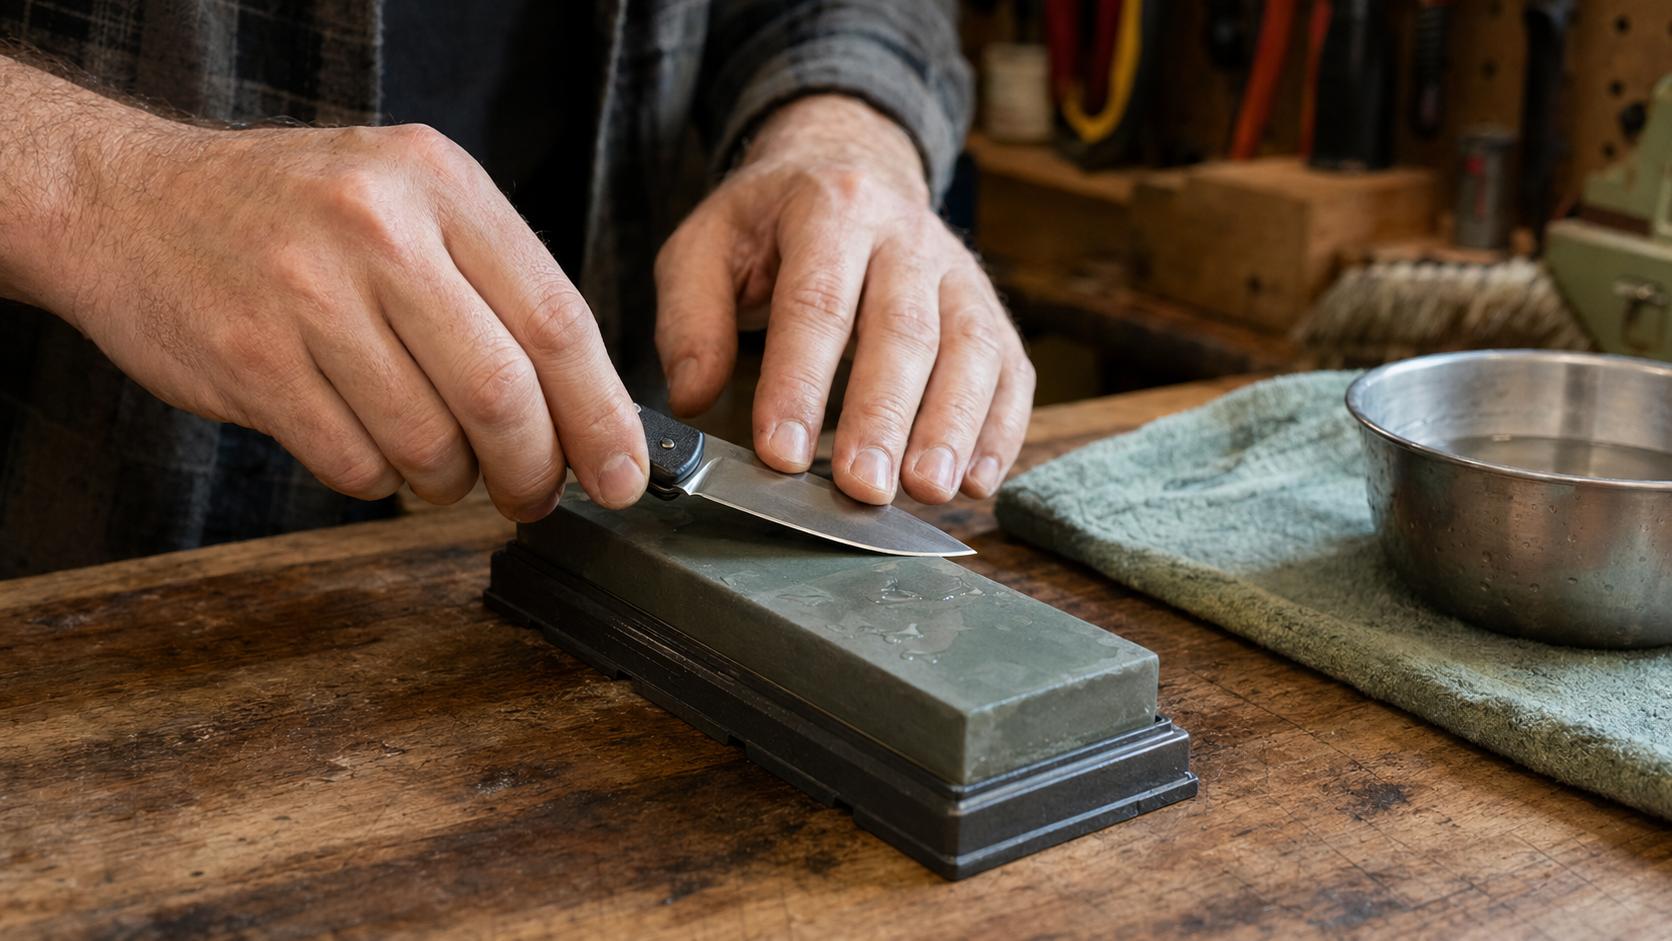
Set up the stone and knife
Use the stone according to its type. Some water stones need soaking, some only need a splash, diamond plates usually do not need soaking, and oil stones use oil. The point is to use the abrasive cleanly and keep the surface from loading up.
Start with a medium grit if the knife is dull but not destroyed. Very coarse stones remove metal fast and can make mistakes bigger. Very fine stones polish more than they repair.
Use the marker trick
Color the bevel with a marker. Take a few light strokes at your chosen angle and look at where the marker disappears. If it is gone near the shoulder but still on the edge, your angle is too low. If it is only gone at the very edge, you may be too high.
Once the angle is right, work from heel to tip with steady pressure. Keep the whole edge contacting the stone over multiple strokes. Do not lift the tip into a weird curve unless the blade shape requires it.
Raise, chase, and remove the burr
Sharpen one side until you can feel a burr along the opposite side of the edge. Then switch sides and repeat. Once both sides have reached the apex, reduce pressure and alternate sides to weaken the burr.
Finish with very light passes or a strop if you have one. The final edge should bite paper or cardboard without snagging. If it feels sharp for one cut and then folds over, you probably left a burr.
The edge is coming in
- The marker disappears evenly along the bevel.
- A small burr forms consistently from heel to tip.
- The final strokes get lighter, not heavier.
Reset your angle
- The stone slides around while you work.
- You keep changing angle to chase sharpness.
- The edge reflects light in dull spots after sharpening.
Field note
A mediocre knife with a clean edge is more useful than an expensive knife sharpened by guessing.