LiTime 12V 40A DC-DC Charger with MPPT

A combined alternator and solar charging box for the moment a van power setup needs controlled charging instead of improvised wires and scattered chargers.

LiTime 12V 40A DC-DC charger with MPPT product photo
DC charger40AMPPT12V system
Overview

Alternator charging only works well when it is controlled, fused, and matched to the house battery.

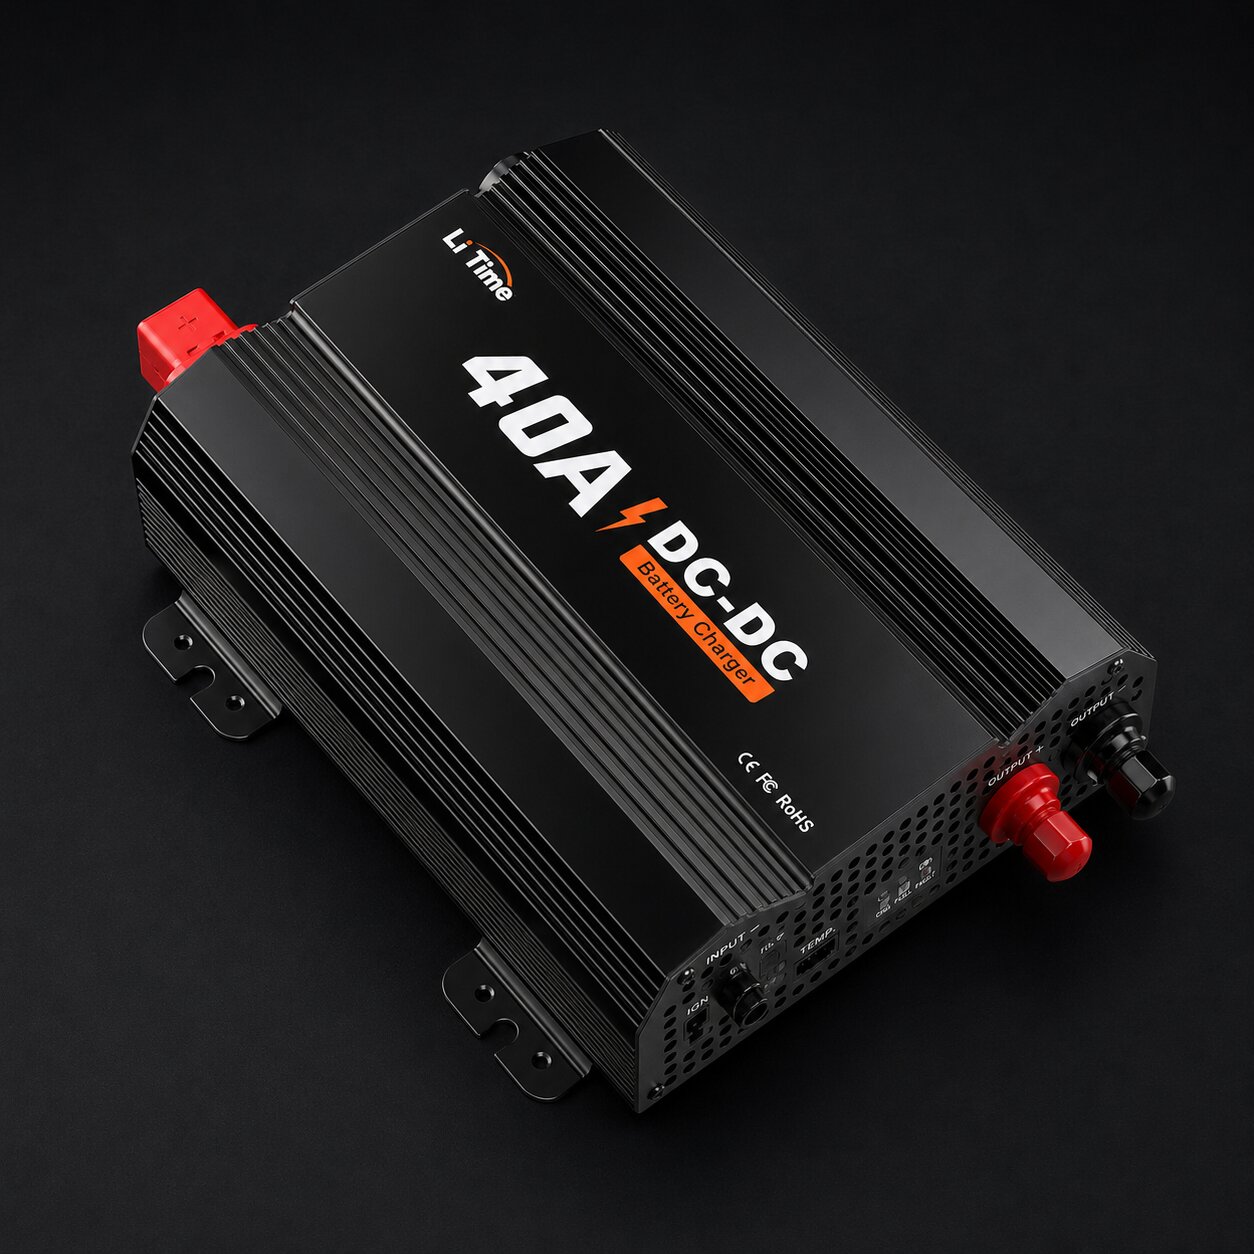
The LiTime 12V 40A DC-DC charger with MPPT is meant to sit between a starter battery/alternator, optional solar input, and a 12V house battery. LiTime lists 40A charging current, up to 93% efficiency, 600W maximum alternator input, and 600W/30V maximum solar input.

That makes it useful for a van, truck, or trailer that runs a fridge, fan, lights, water pump, laptop charging, or other real house loads. It is also the place where sloppy wiring stops being cute: the input and output cables need to be sized by run length, protected by fuses or breakers near the battery/source, and routed so vibration and heat do not slowly damage the system.

The battery profile matters too. LiTime lists support for SLA, AGM, GEL, calcium, and lithium profiles, but the setting still needs to match the actual house battery manufacturer’s charging requirements before the charger is allowed to run unattended.


Best for Van, truck, and trailer house-battery systems where drive time and solar input should recharge camp power predictably.
Not for Tiny USB-only setups, mystery alternators, cigarette-lighter wiring, or anyone who is not ready to fuse, size, and route the circuit properly.

The charger is the easy purchase. The safe charge path is the real project.

Where to Buy

LiTime 12V 40A DC-DC Charger with MPPT

A combined alternator and solar charger for 12V house-battery systems where the charging path needs proper profiles, fusing, cable sizing, and smart-alternator planning.

Direct product link for current charger specs and details.

View product →
Quick Read
Role
DC charger
Best Fit
Vehicle camp setups with a real auxiliary battery, fridge, fan, solar panel, or charging load that needs predictable recharge while driving.
Why It Works
It limits and shapes charge current instead of letting the alternator and house battery negotiate through raw cable.
Skip If
You do not know the alternator capacity, battery chemistry, cable route, fuse plan, or where the charger will get airflow.
At a Glance
Role
Controlled charging from the starter battery/alternator to a 12V house battery.
Solar Input
MPPT input listed at 600W maximum and 30V maximum PV input.
Alternator Input
LiTime lists 600W maximum alternator input for this 40A model.
Battery Types
Profiles for 12V SLA, AGM, GEL, calcium, and lithium batteries.
Smart Alternator
LiTime says smart alternator installs need the included ignition signal wire.
Mounting
Give it airflow, service access, and secure mounting away from water and loose gear.
System Layout

A clean install starts at the starter battery or approved alternator charge point, runs through a fuse or breaker close to that source, reaches the DC input on the charger, then leaves the charger output through another protected run to the house battery or house bus. If solar is used, the panel wiring needs its own safe route into the charger’s solar input, with voltage kept inside the charger’s PV limits.

Do not treat a 40A DC-DC charger like an accessory socket. A long run through a van can see heat, abrasion, voltage drop, and vibration, so cable size should follow LiTime’s manual for the measured round-trip length. The fuse protects the cable, not the charger sticker, so the fuse, wire, terminals, and expected current all need to agree.

Install Checks
Before Mounting
Confirm alternator capacity, charger location, cable route, heat exposure, airflow, and service access.
Before Power
Set battery type, verify polarity, tighten terminals, and confirm fuses or breakers at the source ends.
Smart Alternator
Use the ignition signal wire where required so charging follows vehicle run state instead of guessing from voltage.
First Test
Check input voltage, output voltage, charge current, cable heat, and whether the starter battery voltage stays healthy.
My Notes

This is system hardware. The charger is only good if the wire gauge, fuse placement, grounds, ventilation, alternator behavior, and battery settings are right.

  • Fuse the starter-battery side and the house-battery side close to their sources when the cable run can be energized from either end.
  • Match the charge profile to the battery chemistry and the battery manufacturer’s voltage limits before calling the job done.
  • Plan cable routing, strain relief, abrasion protection, and service access before mounting it behind a beautiful panel you never want to remove.
  • After the first drive, check terminal tightness and cable warmth instead of assuming a successful power-on test means the install is finished.
Explore more camp gear

The best vehicle gear is often the stuff that makes the whole system feel deliberate.

Compare more power and utility gear that changes how camp works once the setup gets more ambitious.
See all gear →